Ragdoll MMA combat rewards clean contact, distance control, and timely transitions more than repeated attack inputs. Start with boxing to learn range, add kicks when the opponent is exposed, defend with blocks and weaving, then use a knockdown or stumble to decide between another standing attack and grappling. The match structure is three one-minute rounds, so every missed attack costs meaningful time. Knockouts and bone-break finishes can end a fight early; otherwise, the result goes to a scored decision, although the game does not publish a judging formula.
For a first complete match, the beginner fight sequence puts these decisions into a practice order.
Combat tools and their jobs
The combat system is easiest to read when each action has a job. Use the following reference to choose an option rather than treating every attack as part of one fixed combo.
| Combat tool | Primary purpose | Best use | Main risk |
|---|---|---|---|
| Punches | Repeatable close-range damage | Test range, punish a miss, or mix head and body shots | Whiffing leaves you exposed |
| Roundhouse kick | Longer, committed standing attack | Catch an opponent at a useful distance or with an unstable stance | Slow recovery after a miss |
| Jump kick | Forward pressure and a potentially disruptive hit | Use when the approach is clear and the opponent cannot easily counter | A failed attempt gives away position |
| Block | Reduce or stop incoming strikes | Cover an attack as the opponent enters range | It does not replace movement |
| Weave or dodge | Avoid a direct line of attack | Move off a straight punch and answer the opening | A mistimed movement can still concede position |
| Grab and ground follow-up | Turn a stumble or knockdown into control | Continue after a successful entry instead of forcing more standing swings | The exchange can reverse if control is lost |
Punches include straight punches, hooks, and uppercuts, with head and body targets available as part of the broader striking game. Mixing targets is more useful than staring only at the head: repeated clean contact can affect posture and create a knockdown opportunity, while body work gives the opponent another line to defend. Specific damage values, body-part multipliers, and fixed thresholds are not published, so treat the visible reaction as the important feedback rather than trying to follow an invented number chart.
Kicks cover more space but demand better timing. Roundhouse kicks are a committed option, and jump kicks are repeatedly associated with aggressive pressure. Neither should be treated as a guaranteed highest-damage move. If the opponent is still balanced and able to answer, return to safer hands or reset instead of chaining a second kick just because the first one missed.
See Ragdoll MMA strike and defense decisions
The linked overview supports this section's strike choices, defense, stamina management, cage positioning, and three-round match structure.

Distance, defense, and stamina
The practical combat loop is distance, contact, reaction, and a decision. At long range, make the opponent enter before you spend a committed attack. At boxing distance, use short punch sequences to see whether they block, retreat, swing, or reach for a grab. After a clean hit, watch the body response: a stable opponent calls for another measured exchange, while a stumble or collapse creates a reason to pressure or change levels.
Blocking is a cover, not a complete game plan. Hold it as an attack arrives, then move or answer once the immediate threat has passed. If you stay planted behind a block, the opponent can keep the initiative or close for a physical exchange. Weaving is especially valuable against a straight punch: move off its line, wait for the miss, and counter while the opponent is recovering. Do not assume every dodge creates a free hit; the counter still has to land cleanly.
Stamina controls how long pressure remains useful. Continuous attacks and movement consume the resource, and a tired fighter is more likely to lose an exchange when the opponent chooses to counter. The safer rhythm is to attack, read the result, and pause long enough to preserve an answer. When the opponent is visibly exhausted, that is the time to punish the opening—not a reason to spend your own stamina on blind repeated inputs.
Use the cage as a positioning aid without treating it as a separate scoring rule. Restricting an opponent’s route can make a grab, kick, or follow-up easier, but the cage itself is not documented as an automatic point source. Keep enough space to retreat if the first attack does not connect.
Damage, knockdowns, and finishes
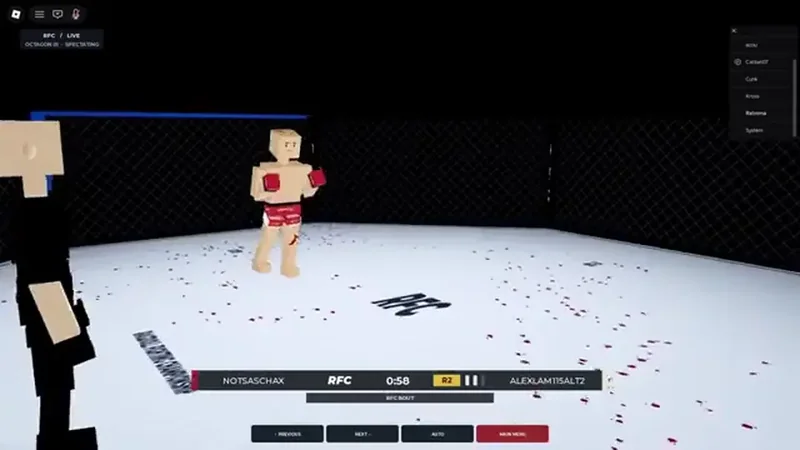
Head and body shots matter because the physical response changes the next decision. A clean connection may move the opponent, make them stumble, or create a path to the floor. A knockdown is not an instruction to keep throwing the same standing punch: choose whether to grab, control the ground position, or use ground-and-pound when the position supports it. Ground combat and grappling are important continuations, and their detailed controls belong in the separate grappling reference.
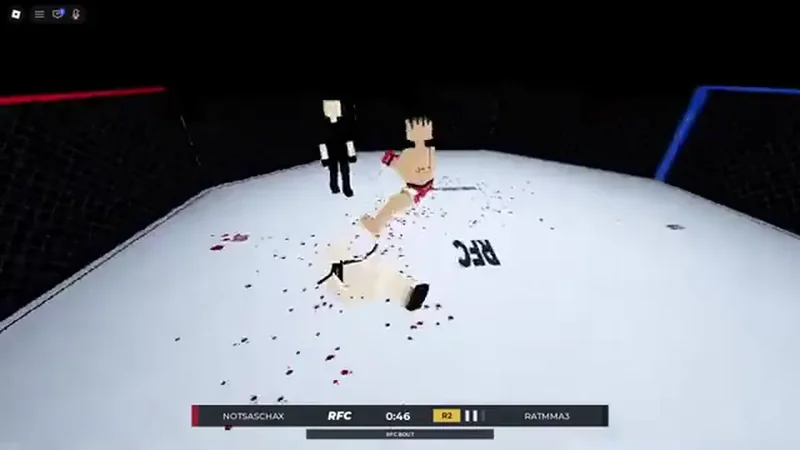
Knockouts are an early match-ending result. Bone breaks are also presented as possible combat outcomes, and a finish may receive a slow-motion X-ray-style replay. The replay shows the result dramatically; it does not disclose a fixed damage calculation or prove that one move has a guaranteed break chance. Do not promise an opponent that a particular kick, body part, or sequence will always produce a finish.
If you hurt the opponent without ending the fight, reset your priorities. Keep the advantage by staying close enough to threaten but far enough to avoid a desperate reversal. A second clean exchange is usually more valuable than a wild chase that gives the opponent a grab or counter. If they fall, confirm whether you have control before releasing your balance for more damage.
Three one-minute rounds and decisions
A standard match lasts three rounds of one minute each. That short clock changes the value of patience: learn enough from the first exchange to make a choice, but do not spend most of a round circling without meaningful offense. A useful round plan is to gather information early, apply a clearer pressure choice in the middle, and stay active through the final seconds if the fight remains unfinished.
The combat materials identify scored decisions as the result when nobody is finished, but they do not publish how judges weigh head shots, body shots, cage position, takedowns, ground control, or damage. Avoid treating a guessed 10-9 system as an official rule. If you expect the fight to reach the cards, favor clean visible offense, controlled positioning, and fewer empty swings. Keep working through the horn rather than assuming one dramatic moment guarantees the round.
| Round | Practical priority | Decision to make |
|---|---|---|
| First minute | Learn range without overspending stamina | Continue with hands, reset, or test a timed kick |
| Second minute | Turn the read into initiative | Add a committed kick or grappling entry when the opening is real |
| Third minute | Protect the advantage or create a finish | Stay active, avoid reckless chases, and preserve position |
The table is a planning aid, not a published judging rubric. A future update or current in-game presentation may clarify how decisions are calculated, so use the match result and current combat information rather than assuming undocumented point weights.
A reliable combat decision loop
Use this sequence during a live exchange. It is not a guaranteed combo; it is a way to keep each action tied to the opponent’s state.
- Check range. Approach behind movement and make the first committed attack only when a punch or kick can reach. If the distance is wrong, reset instead of donating a long recovery.
- Choose the safer contact. Use punches to test close range. Choose a roundhouse or jump kick only when the opponent’s route, balance, or distance makes the commitment reasonable.
- Read the response. After contact, look for a clean reaction, block, miss, stumble, knockdown, or counter. The physical response determines whether you continue, defend, or change position.
- Defend the return. If the opponent answers with a straight punch, weave or block and avoid standing still. If your attack missed, prioritize recovery over a second desperate input.
- Convert a real opening. When a stumble or knockdown gives you access, use grappling, ground control, or ground-and-pound as appropriate. If control is not secure, stand back up or reset rather than forcing damage.
- Manage the clock. With three one-minute rounds, keep useful offense available. If no finish is coming, end each exchange balanced and ready for the next one.
The recovery rule is simple: a missed kick or exhausted sequence is a signal to disengage, not to press harder. A successful counter is also not permission to ignore defense. Combat stays favorable when you keep enough stamina and position to answer the opponent’s next action.
What is confirmed and what remains unknown
You can safely plan around punches, kicks, blocking, weaving, stamina management, head and body attacks, grappling transitions, knockdowns, knockouts, possible bone-break finishes, and three one-minute rounds. You can also use the current controls reference and Training areas to verify inputs before a match, especially while the game remains in early development.
You should not plan around an official damage spreadsheet, a guaranteed move tier list, fixed bone-break odds, published hit-stun values, or a confirmed decision formula. Player footage can demonstrate an observed sequence, but it does not turn that sequence into a universal rule. When a mechanic changes, follow the current in-game control display and match feedback. The strongest general approach remains the same: land cleanly, make the opponent miss, protect stamina, and convert a genuine opening into control instead of repeating an attack on autopilot.
Ragdoll MMA combat questions
Does cage position automatically score points?
No. The cage can restrict movement and make pressure or grappling easier, but it is not documented as an automatic scoring category. Treat it as a positioning aid rather than a guaranteed source of points.
Does an X-ray finish replay reveal the damage formula?
No. The replay presents a bone-break or other finish dramatically, but it does not publish fixed damage values, body-part multipliers, or guaranteed break odds.